


The thing about yogurt is that it always sounded really intimidating. Like, one must really know what they’re doing if they can make yogurt in their own kitchen. But I tried it last week for the first time and it was surprisingly EASY and, even more surprising, absolutely delicious. So many people have asked for the recipe after I posted about it on Instagram so I thought I’d type it out, simple style, because so many recipes online for yogurt are so overly typed out that it makes it more difficult than it should be.
Ingredients:
- 1 gallon milk (I used plain old store brand 2%)
- 2 tablespoons starter yogurt (simply put, already-made yogurt; I used Yoplait’s Oui vanilla yogurt, but you can use any kind, just make sure it’s a high-quality yogurt containing milk and live active cultures, nothing more)
- 1-2 tablespoons pure vanilla extract, optional
- Sugar, optional
Additional kitchen items to have:
- Instant Pot
- Nut Milk Bag
- Digital Thermometer
- Bowl
- Whisk
- Wire Cooling Rack
Directions:
- Pour the cold milk into a cold Instant Pot (IP) bowl and place the lid on the pot.
- Press the “yogurt” button on the IP pressure cooker and then the “adjust” button until the display says “boil”. This will take somewhere between 60 to 90 minutes so don’t expect this to be done in 15 minutes. When it’s done, it’ll beep and the display screen will change from “boil” to “yogt”. This process hasn’t been pressurized so you can immediately remove the lid.
- Use a whisk to stir the milk (to get an accurate temperature reading and avoid hot spots) and then immediately check the temperature of the milk with a digital thermometer. You want the milk temperature to be at least 180 degrees. (It’ll set up even better if you can get it to 181-185 degrees.) Be patient. You may need to run another boil cycle to get it to 180. (To help it get to temperature on the first try, you can stir it every 30 minutes or so while it’s heating up.)
- Take the IP pot out of the cooker and set it on a wire cooling rack (so air can circulate around it) and allow the milk to cool to 110 degrees. This will take roughly 2 hours so feel free to go on with your day in the meantime. When the temperature reaches 110 degrees, you can add your yogurt starter.
- Take 1 cup of milk from the IP and pour it into a separate small bowl. Add the yogurt starter and whisk together, mixing well. If you are adding vanilla, now would be the time to do that as well. Pour this mixture back into the pot and stir.
- Place the IP pot back into the pressure cooker. Push the “yogurt” button. The display will show “8:00”. This means 8 hours. Do a quick check to make sure the option on the IP for “less, normal, more” displays “normal”. Put the lid back on and let it go to work! (The timer will count up, not down, in the yogurt function so just note that in your brain.)
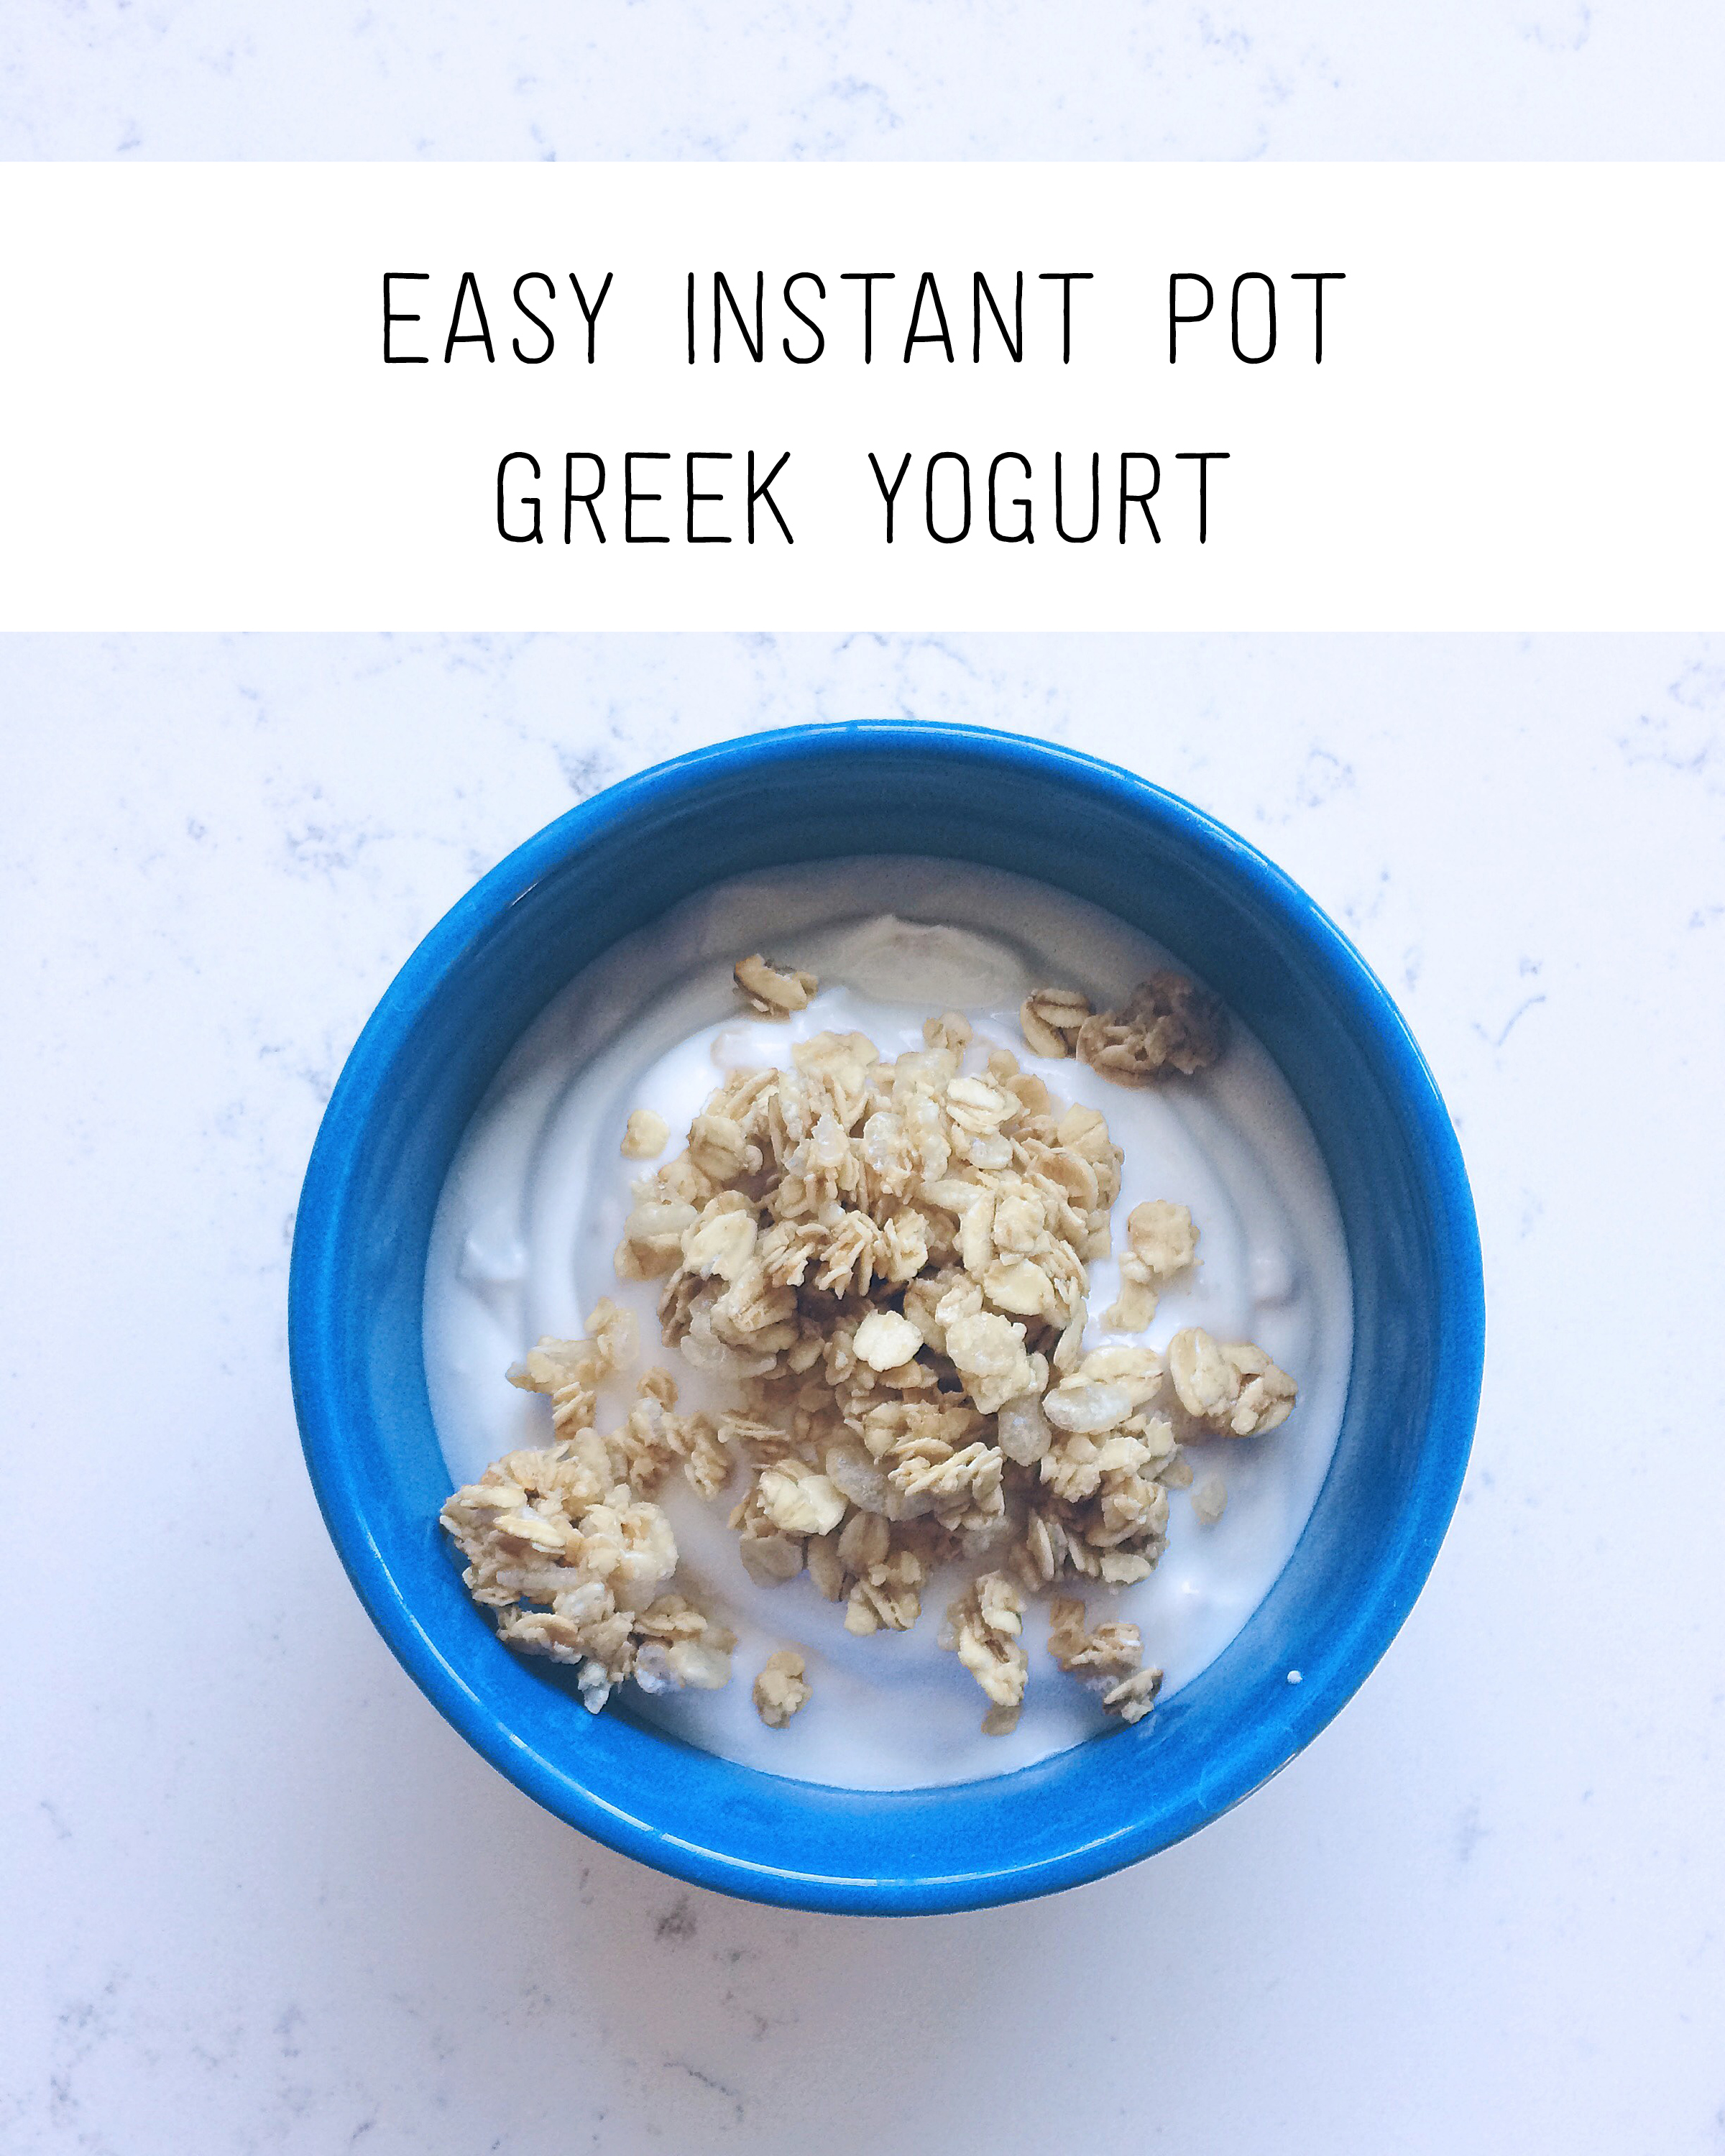
- When the 8 hours is done, you are ready to strain it! I put my nut milk bag inside my strainer inside a bowl in order to keep it lifted out of the liquid (whey) as it strains. (You can save the whey to use in smoothies, salad dressings, etc for added probiotics if you’d like.) A fun fact about yogurt is that unstrained yogurt is just regular yogurt; Greek yogurt is yogurt that has been strained. I love Greek yogurt so I let mine strain for a good 3+ hours! The first time you do it, just strain it until it gets to the consistency that you prefer and then make a note of how long it took so you can just set the timer for next time. It’s fine to leave it on the counter during this time unless it’s really hot in your kitchen. If it’s hot inside, just put it in the fridge instead.
- Once it’s strained, just put all that delicious yogurt into a bowl. I like to add a bit of sugar to mine, but used only about 1/2 cup for the whole batch. You can certainly leave the sugar out completely if you’d like. You can just keep it in the bowl in the fridge and dish it out to eat or if you want a quick breakfast/snack, you can separate it out into small glass jars
. (I love these jars
.)
Notes:
- You can use this yogurt now as your starter for your next batch. The easiest way is to put some in an ice cube tray and freeze it.
- Some people do this whole process in the evening and let it cook overnight. I found it worked really well for me to do it during the day. I did steps 1-2 at 7 in the morning, steps 3-4 around 8:30 right before we left for the gym, and then by the time we ran some errands and came back home, it was 10:30 and I could go right into steps 5-6. It was ready that night around 6 PM, which meant I could strain it for 3 hours and finish it all out before going to bed that night. Fresh and cold yogurt for breakfast the next morning!


add a comment
+ COMMENTS