![]() used to rarely sit on our couch because I’m one of those people who likes to have everything within arm’s reach. But this winter I got the bright idea to get an end table for the couch so that
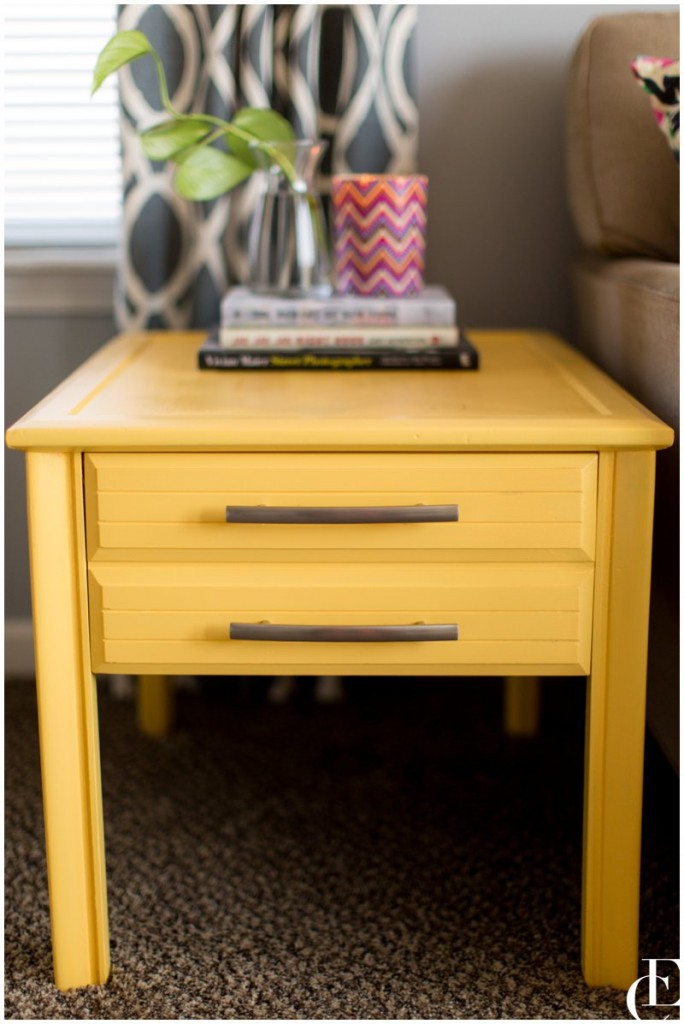
used to rarely sit on our couch because I’m one of those people who likes to have everything within arm’s reach. But this winter I got the bright idea to get an end table for the couch so that we I could fully utilize the seating in our living room. I had a few requirements: must have one or more drawers (to hide remotes and clutter–obviously) and must be yellow.
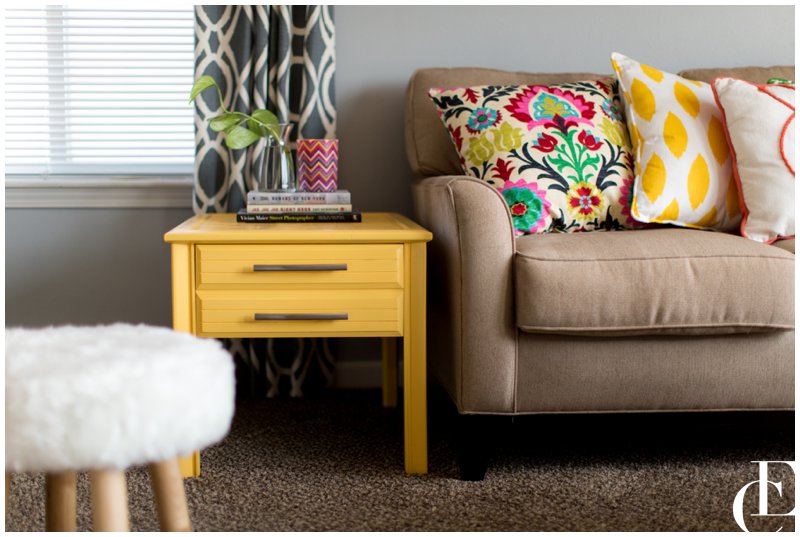
I found what I thought would be perfect at Target, but when I went to see it in person, I found out that none of the stores in Iowa carried the yellow version and it wasn’t available to ship from Target.com at the time. I also realized the end table was much smaller in person that I had expected. Given that rest of our living room furniture was purchased at a furniture store, it’s all solid, large furniture. I knew the end table from Target would look really cheap and tiny against the rest of our furniture.
So I started searching Craig’s List for an end table of any color, figuring I’d have to paint it. I was having no luck online when it hit me one afternoon that my parents used to have a living room set when I was a kid that had 2 end tables each with a drawer. I called my mom posing a two-fold question: do they happen to still have that furniture (it’s been replaced many years ago so I wasn’t sure what had happened to it) and, if so, would they be willing to sell one of the end tables? Sure enough! They still had the entire set in the storage room: 2 end tables and a coffee table.
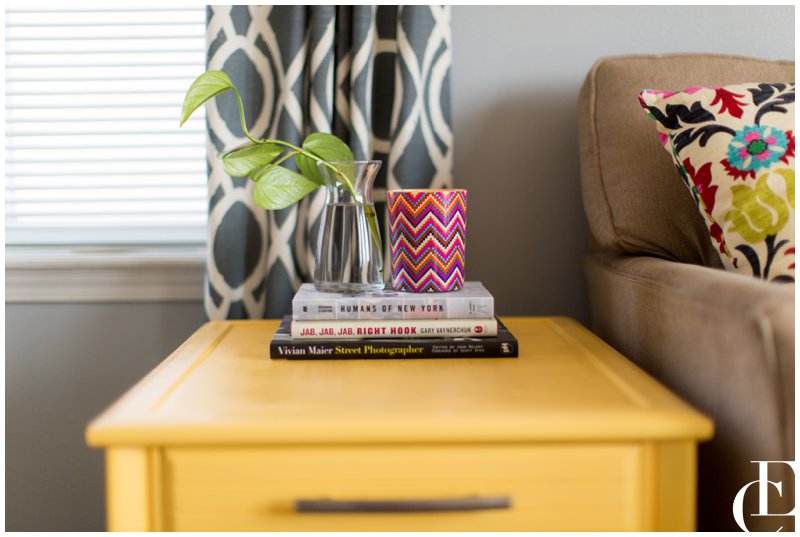
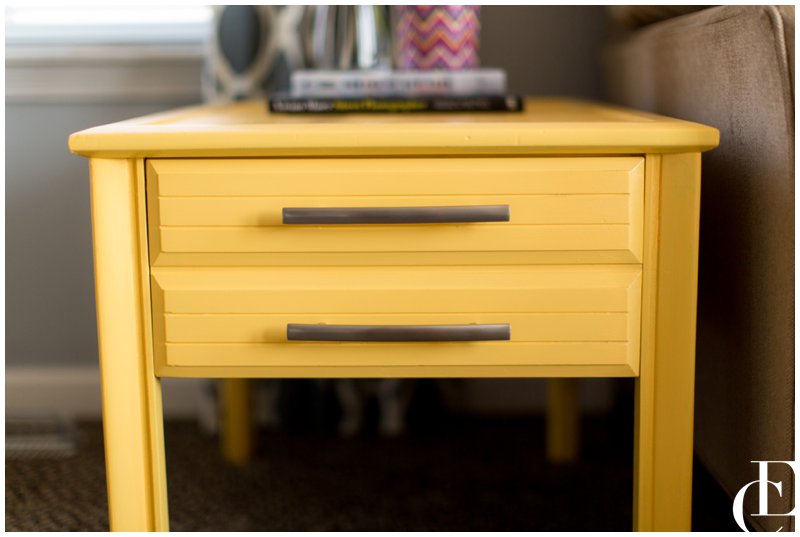
I picked up the end table a few weeks ago and placed it in the living room to make sure it fit the space. It was absolutely perfect. Last week, I set up a drop cloth in the living room and got to work painting it. The handles were so old that when I went to Lowe’s to get new ones, they don’t even make handles that width so I had to fill the old holes and drill new holes for the new handles. Worth it, I think. It adds the perfect pop of color to our living room and brings great functionality!
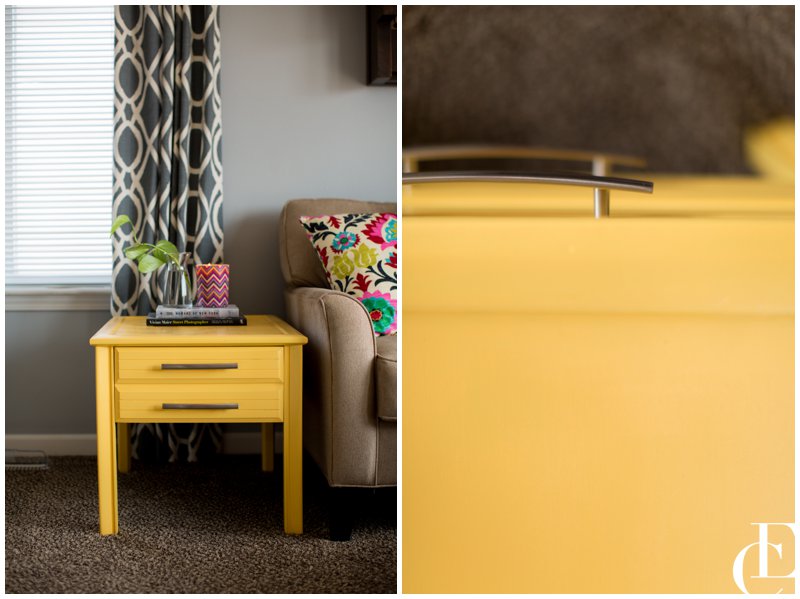
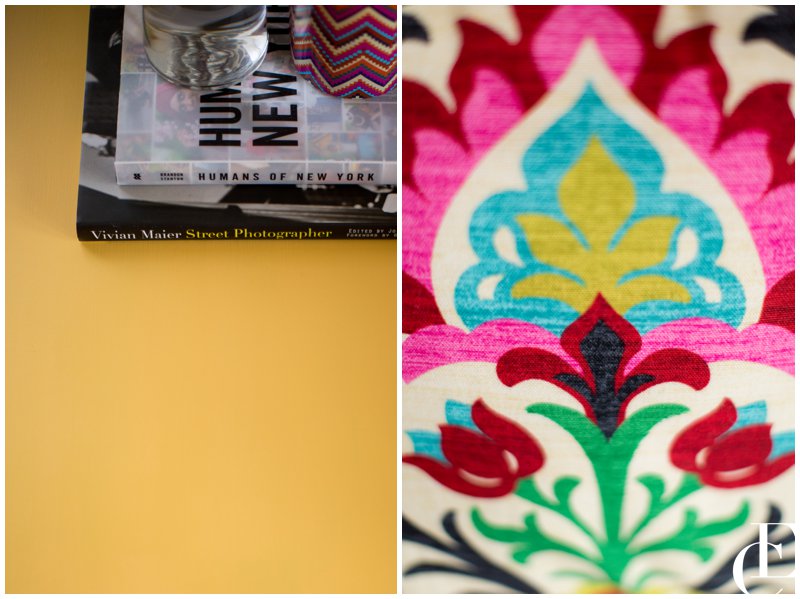
I used Valspar Ultra Gloss paint (the color is Peach Tea; Carla…isn’t that awesome?!). I used my orbital sander to lightly sand over the table and rough up the surfaces. I then cleaned it off with a damp cloth and used Zinsser primer to cover it for the base layer. The yellow paint is a paint and primer in one, but for this project I knew I needed a separate primer as well. After the primer dried (it only takes about 30 minutes before you can paint!), I applied the first coat of yellow. I found that, because of the groove lines, a regular bristle paint brush worked best, but I did take caution to move the brush in the same direction as the wood grain.
While that dried, I puttied the holes from the old handles and drilled new holes to fit the new hardware. It takes about 30 minutes for the putty to dry before you can paint, but I had already done the primer prior to that so it was just a matter of waiting to apply the yellow coats.
I went back to the table and painted the second layer of yellow. For the second layer, I used a sponge brush on the legs and sides and continued going with the direction of the wood grain. For the final coat on the table top surface, I used a sponge roller so that I could avoid the brush lines and get the smoothest surface possible. I then finished the drawer front and let it all dry over night. (I waited 48 hours before putting anything on the table top.)
I absolutely love how it turned out!
add a comment
+ COMMENTS