


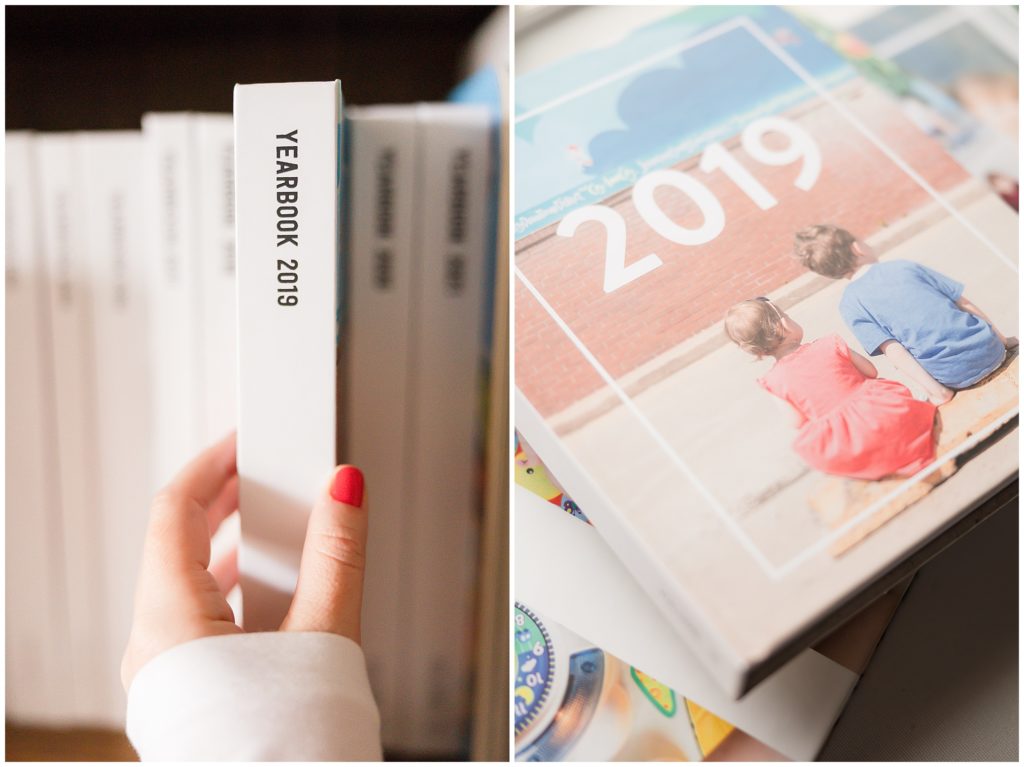
Of all my hobbies, creating our annual family yearbook is my absolute hands-down favorite. I get a ton of questions about them on social media so I’m going to try to break it down here in some simple steps.
First of all, some quick answers to the most common questions:
- How big is it? Before we had kids, our yearly books were much smaller (around 150-200 pages); now I try to keep them right at or just under 400 since that’s the limit for printing/binding. (The year I found this out, I had over 400 pages and had to go back in and condense it down so now I keep an eye on the page count throughout the year as I’m making it.)
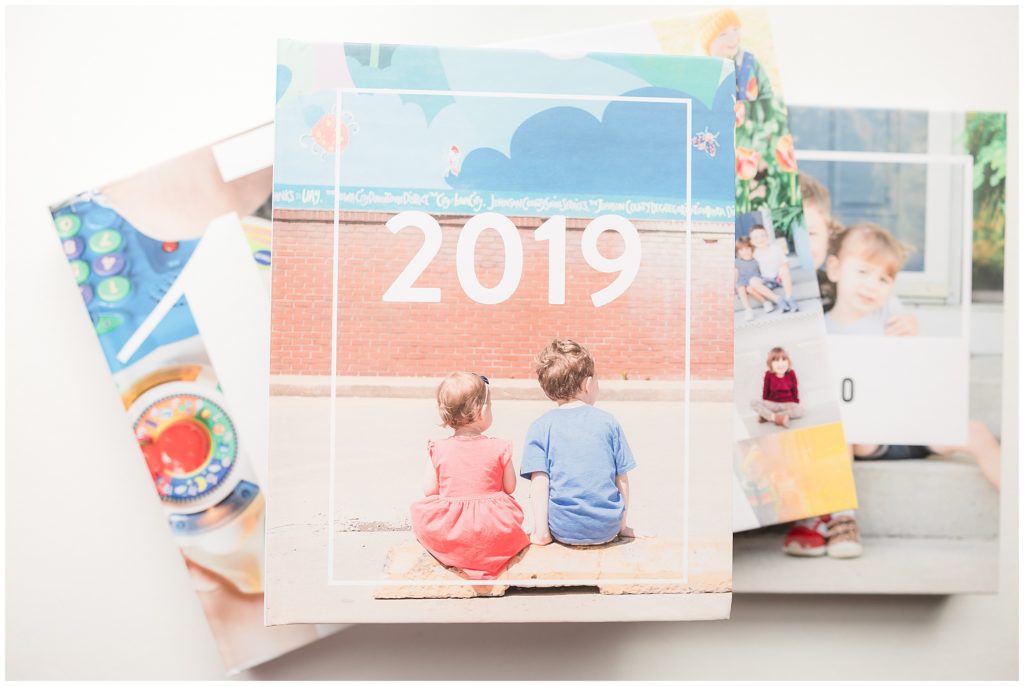
- What size is your yearbook? It’s an 8×10 photo book.
- Where do you get it printed? I use Blurb for all my personal photo album projects.
- What software are you using to design your spreads? I use a mix of softwares, but it’s because design work is my favorite pastime so it’s something I honestly enjoy. I use SmartAlbums for initial photo layout, then transfer to InDesign for text. Both of these are software products that I also use with my business so if you do not have these, I’ll break it down below how you can use a free software that comes with Blurb.
- Do you do one album per year or per child? One album! Each child also has a baby book that covered their first year, but after that, all their photos and memories and life events get put together into the family yearbook. (I do save the layouts just in case they’d ever want their own copies as adults, it’s a simple reorder.)
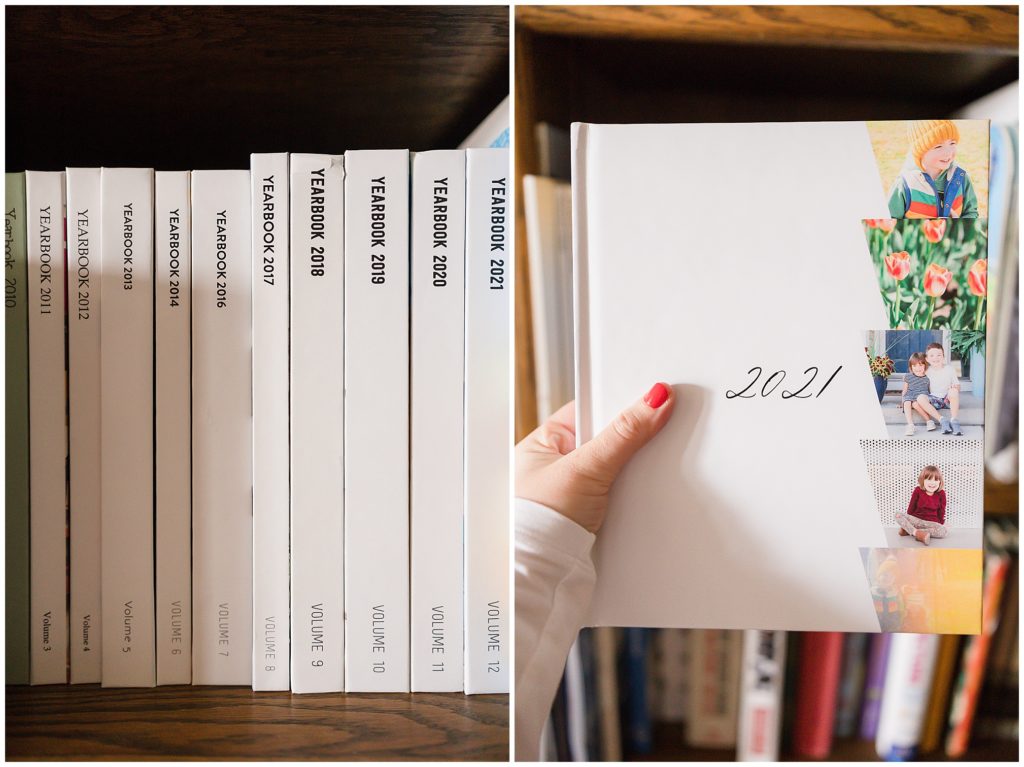
There are a few easy ways to make a family yearbook even if design isn’t your thing. Companies like Chatbooks are making it easier than ever and, in some cases, completely automated! Again, because I love design and I am sort of, shall we say, a control freak, I like to do it all myself. After all these years (over 12 now!), I have a good routine down.
If you’re reading this, I’m assuming I don’t have to convince you how amazing and important it is to get your photos off of your phone and into print. You already know this which is, I’m imagining, why you’re trying to figure out some steps to actually do that. The biggest keys to committing to any sort of project like this is to 1) take it in chunks and 2) try not to get too far behind. Nothing is more daunting than getting to November and realizing you have to compile ten months worth of memories to get caught up.
For me, it works best to split the yearbook up by months. There are a few things that I include everything month:
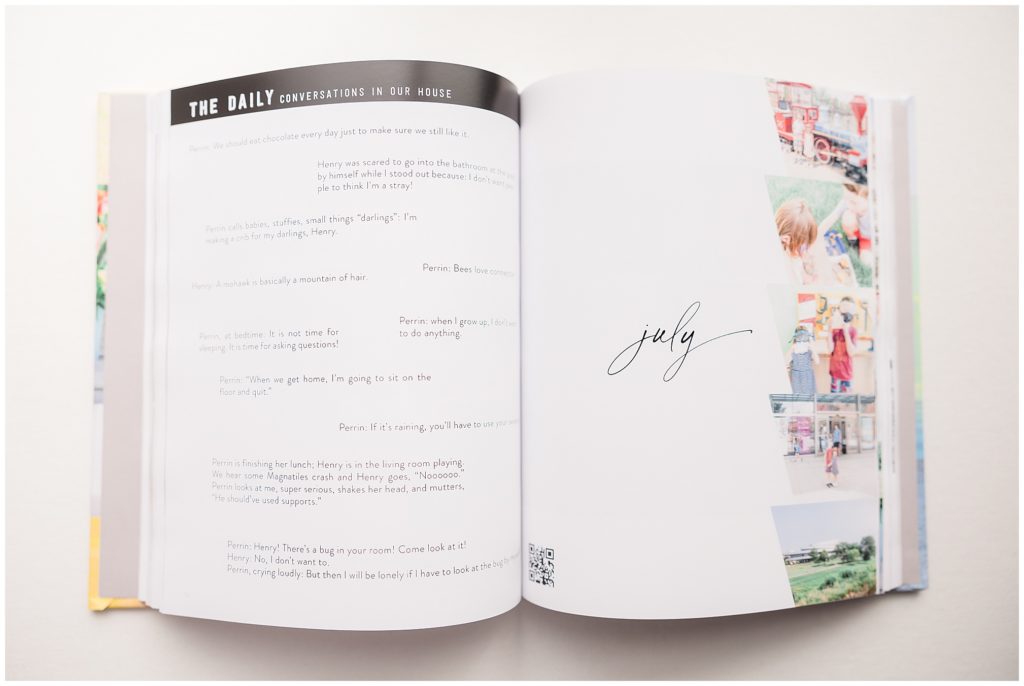
- Monthly header page – Just a page noting which month we are entering in the book.
- Kid quotes – I keep a running Notes on my phone with cute, sweet, funny things the kids say and then at the end of each month, I pull that month’s quotes into the yearbook design.
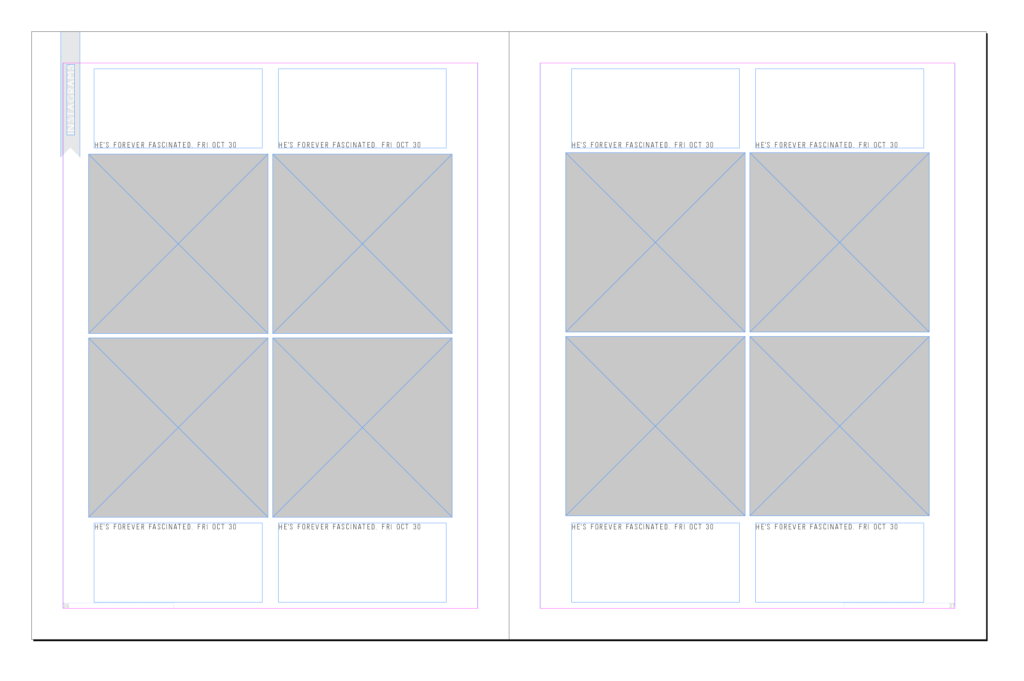
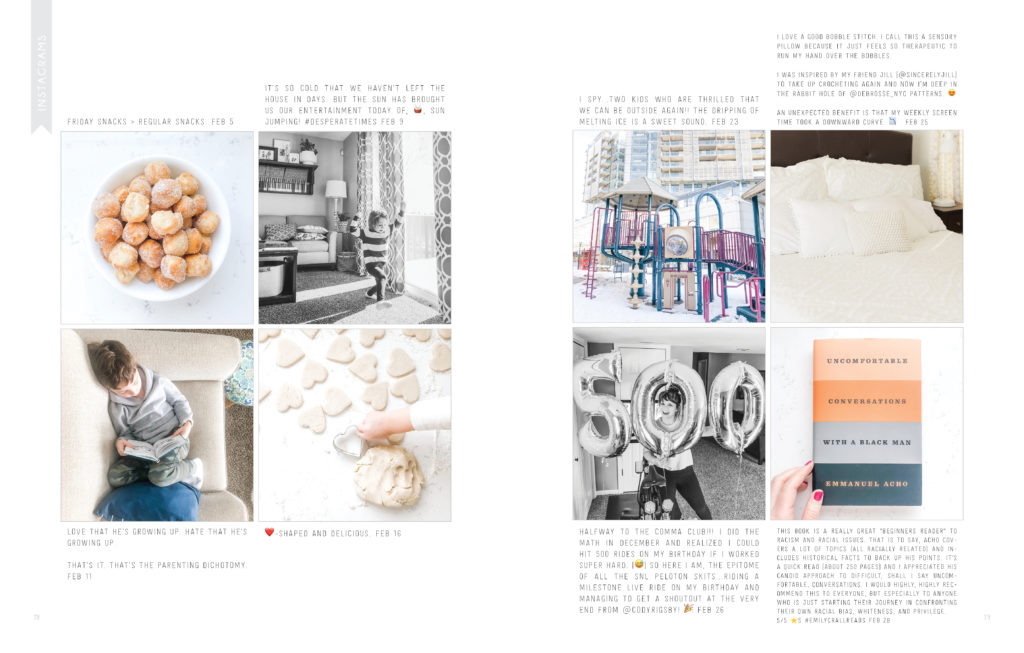
- Instagrams – There used to be an easier way to merge this, but that no longer works so now I use a saved design template I created in InDesign and just pull any personal Instagrams from that month, along with their captions, into the template.
- 1 Second Everyday video QR code – I love my 1SE videos and I save them monthly, upload them to YouTube with a private link, and QR code them into the yearbook.
As for the actual design process, I use SmartAlbums to make my initial photo layouts, then I export to an InDesign file (export for print > IDML Adobe Indesign), and copy/paste those spreads into my existing, working yearbook document (INDD). There are a few templates that I’ve created and saved in InDesign over the years (like the Instagram and kid quotes layouts) that I reuse so, really, it takes almost longer for me to write this blog post than it does to create an entire yearbook, hah.
For example, here’s what my Instagram template looks like versus how it ends up:
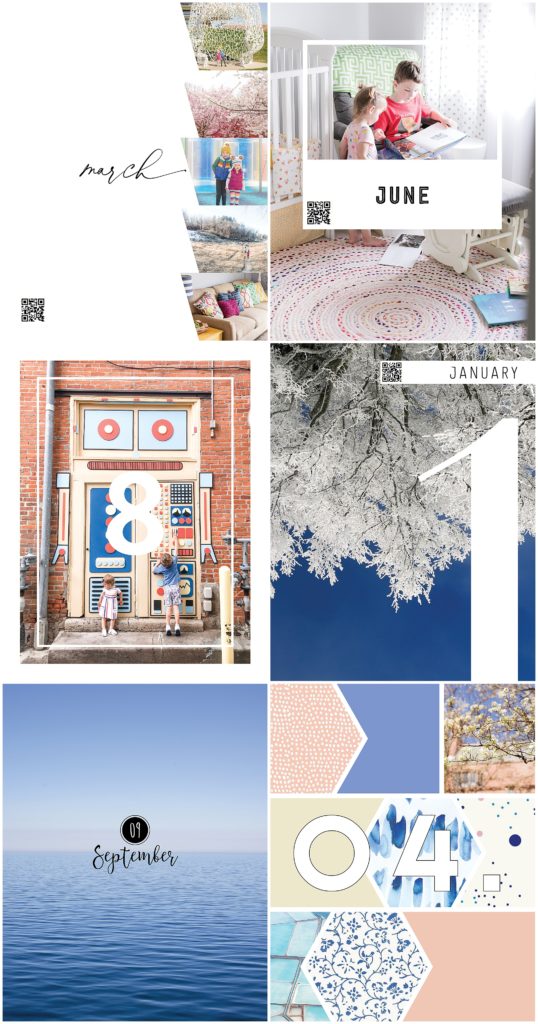
Every year, I do a different monthly header (and corresponding album cover) design. I save that design as a template that I use throughout that entire year. Every January, I take on the fun task of coming up with a new design for the year. Here are some from past years (you can tell which years are the most recent because they include the QR code to that month’s 1 Second Everyday video):
As for the actual photos, I, like most people, have a bunch of iPhone photos. I do use my camera for some pictures as well because, well, the quality is just so so much better, however, the best camera is the one you have with you, which often ends up being my phone. I edit all my iPhone photos in the Lightroom mobile app and back them up to Google Photos. From there, it’s super easy to pull them from Google Photos onto my computer to use in my books.
My best layout tips are as follows:
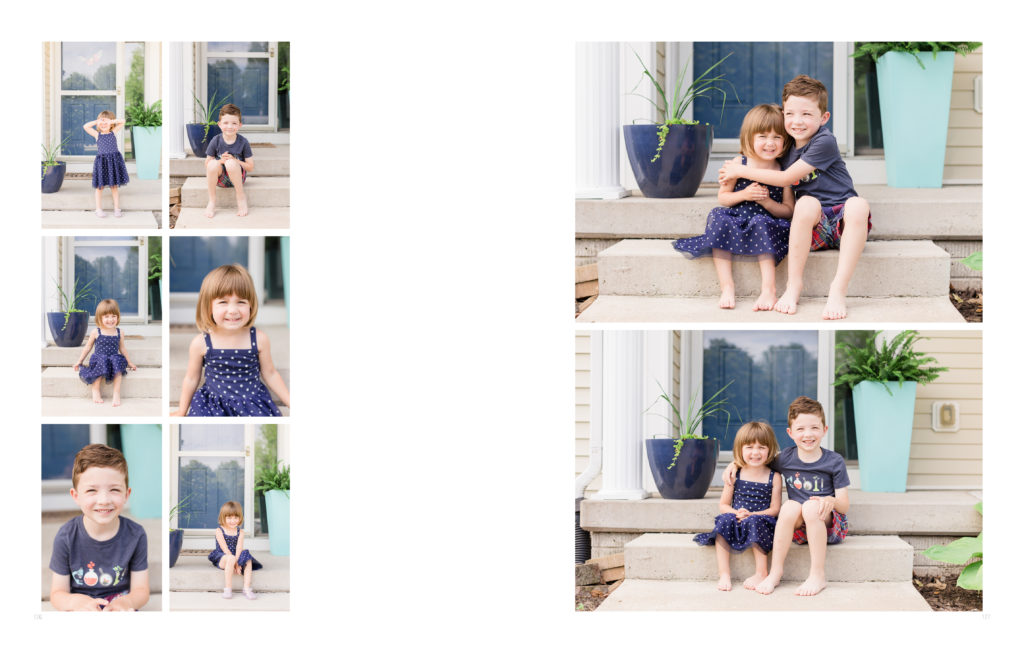
- Allow for visual “room to breathe.” Don’t crowd photos onto a page! White space is what your brain longs for when it’s taking in multiple photos; it’s the visual breath on the page. You’ll enjoy looking at your photos so much more if they are not crammed together.
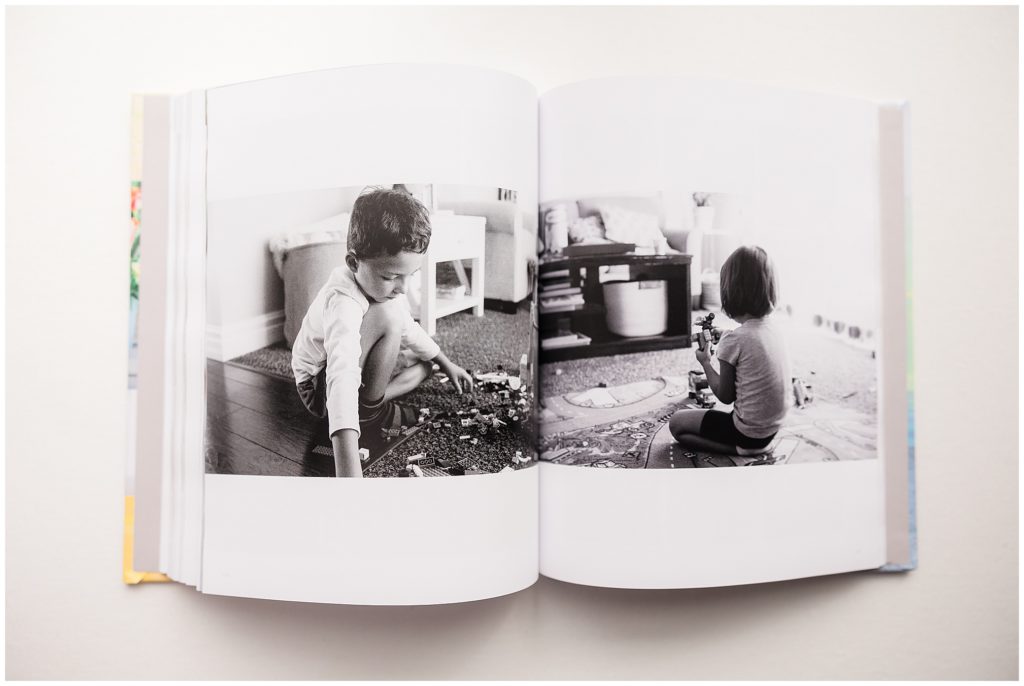
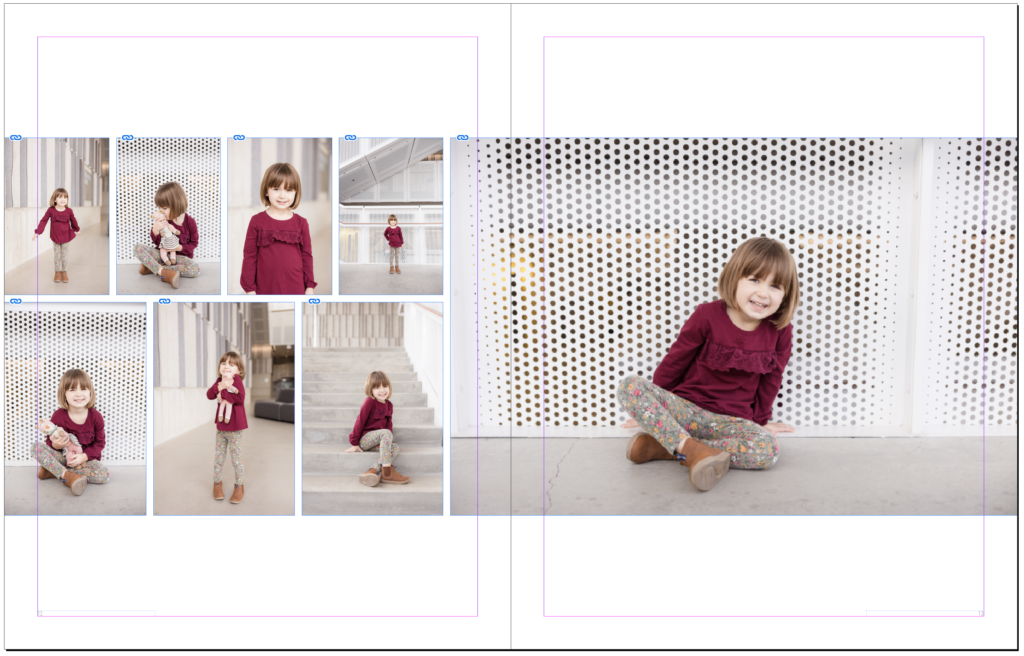
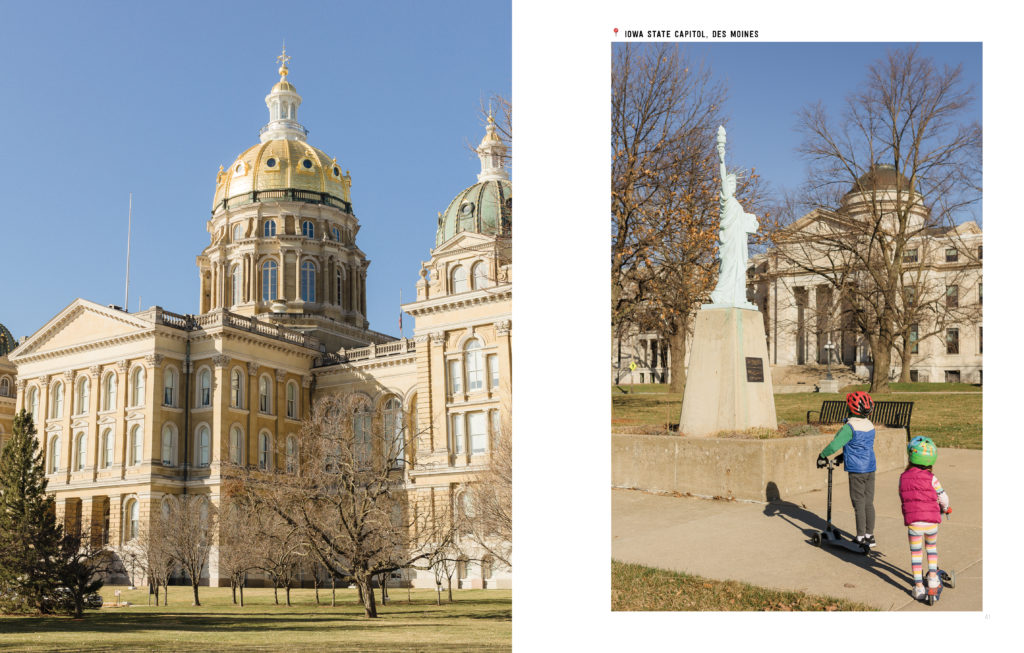
- Your layout will be designed as a spread. A spread is simply what you are looking at when your book is open: the two pages together. Make sure to design in a way that you don’t lose important elements in the page seams. Here’s an example of this. You can see the large photo of Perrin crosses the seam (the black line down the center), but I kept her body centered on the right page, keeping anything important out of the seam line.
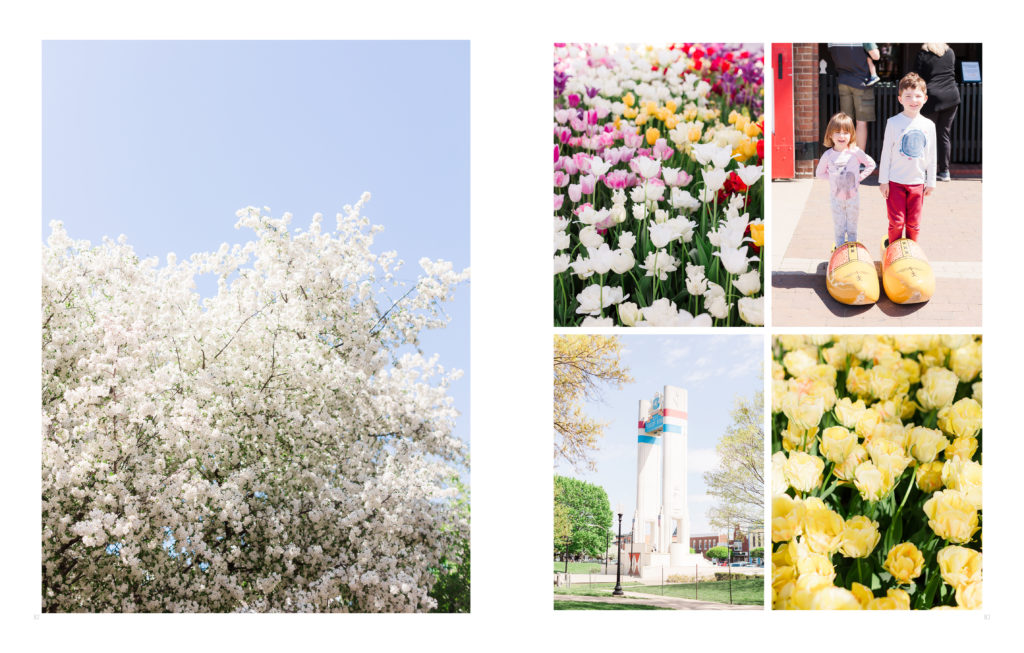
- Use a variety of pulled back and tight shots. Similar colors and tones will also pull together a spread.
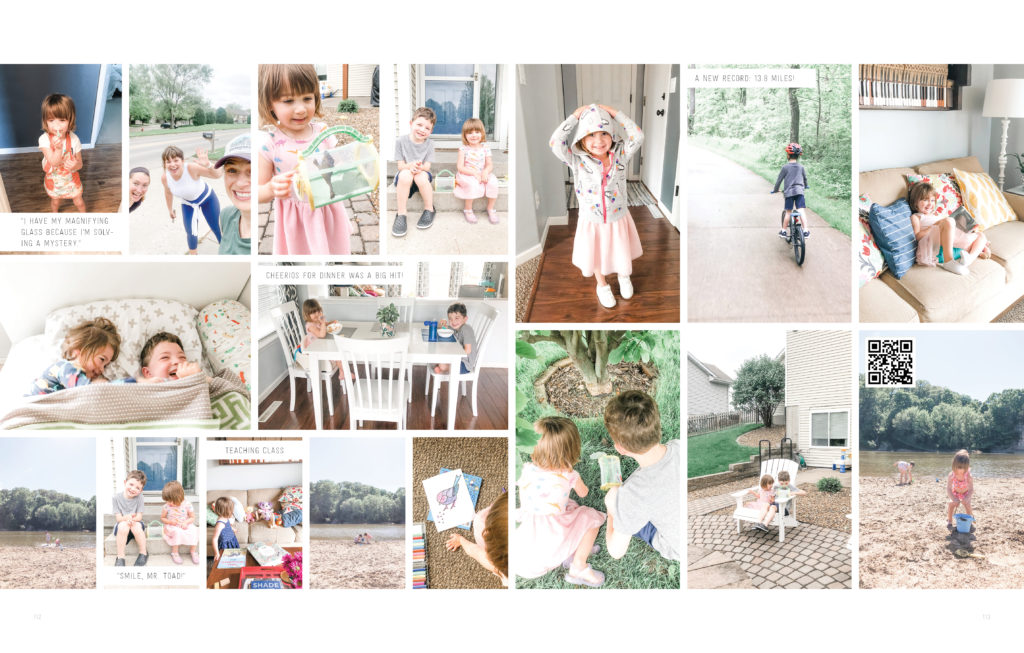
- Use words when necessary to preserve a memory, but don’t feel the need to make things extra wordy. Not everything needs an explanation. Every month there’s at least one spread that is just an assortment of photos and I always try to think, “If I weren’t here to explain this, would it still make sense?” Sometimes it’s just a cute photo, but sometimes it’s a photo as a result of something and I like to include the backstory. (And sometimes it’s not a story so much as a funny video so I’ll do a QR code as also shown here.)
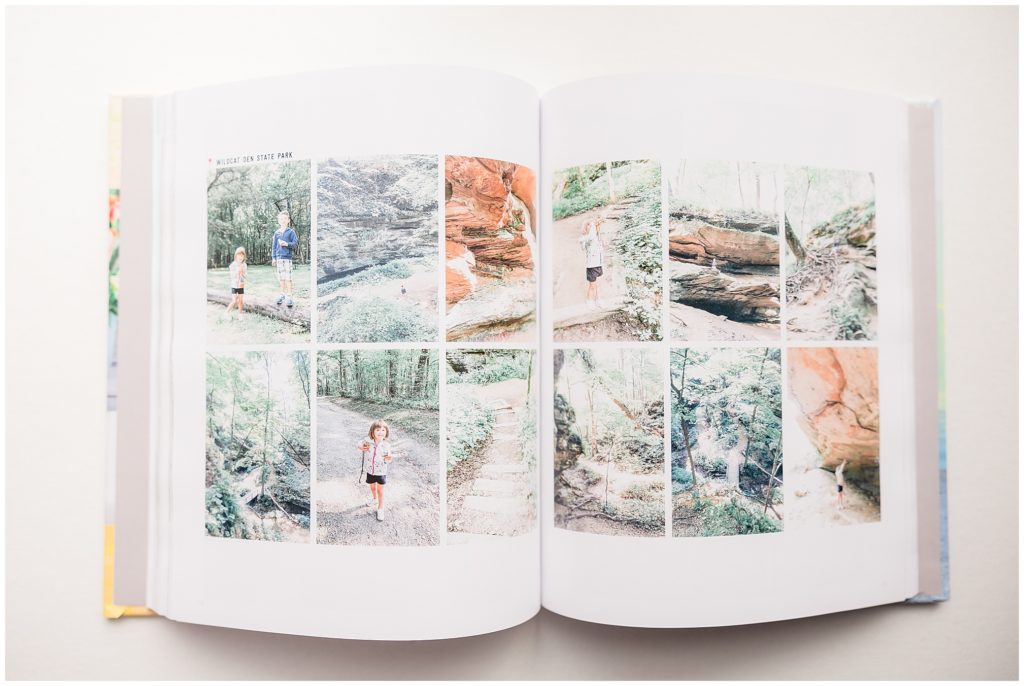
- Sometimes when I don’t need to explain the story behind the photos, I still want to note the location so I add a tag like this.
I mentioned that there’s a free software available that’s actually really, really good. It’s called BookWright and it’s available through Blurb (where I print my books). You have the option of designing from a blank canvas or picking from predesigned templates!
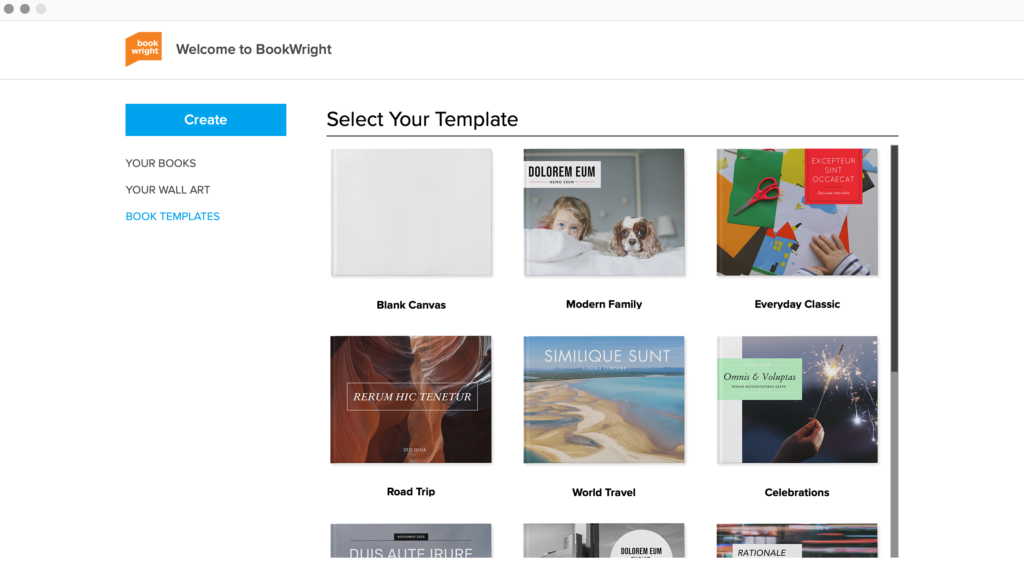
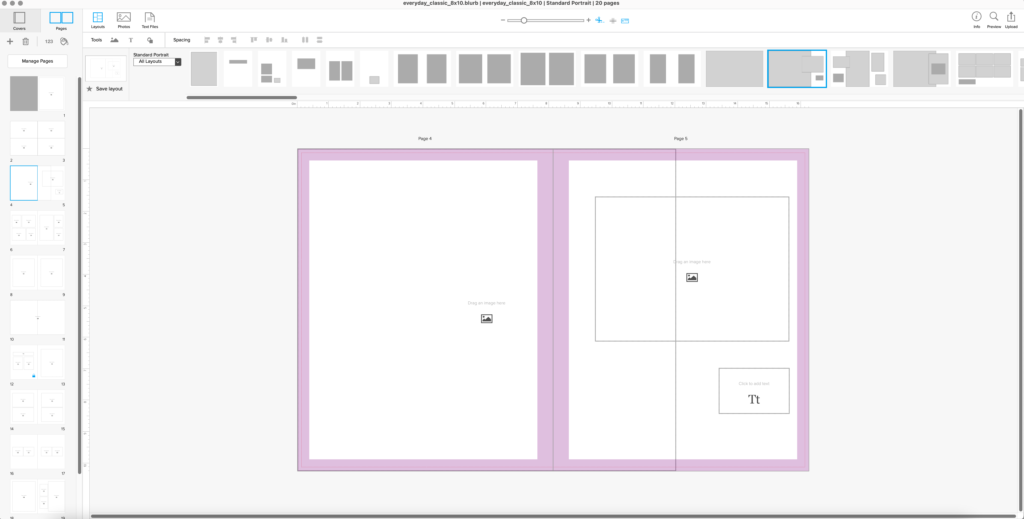
In the predesigned templates, you still have lots of customizable options (see the layouts on the top bar below), but just with the benefit of lots of guidance.


add a comment
+ COMMENTS