


A while ago, I posted a reel online about the books I created with my kids’ art. I had some questions come in about the how of making them so I thought turning it into a long form post could be helpful. (If you’re already familiar with my family yearbooks, this will be a similar format.)
When Henry was little, I tried to figure out how I could save his artwork in a way that was organized and didn’t take up tons of space. There are apps for this kind of thing, but I already have a design background and was very specific about how I wanted a book to look. (Also, I didn’t want to pay a subscription fee for an app or service, knowing it would be a compilation of years of artwork.)
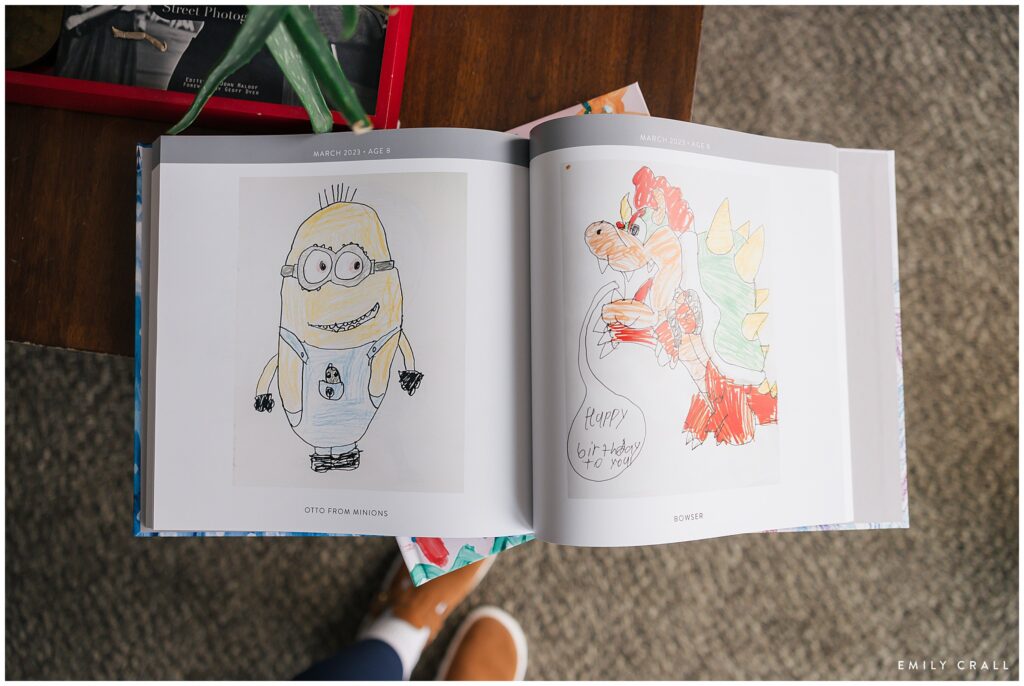
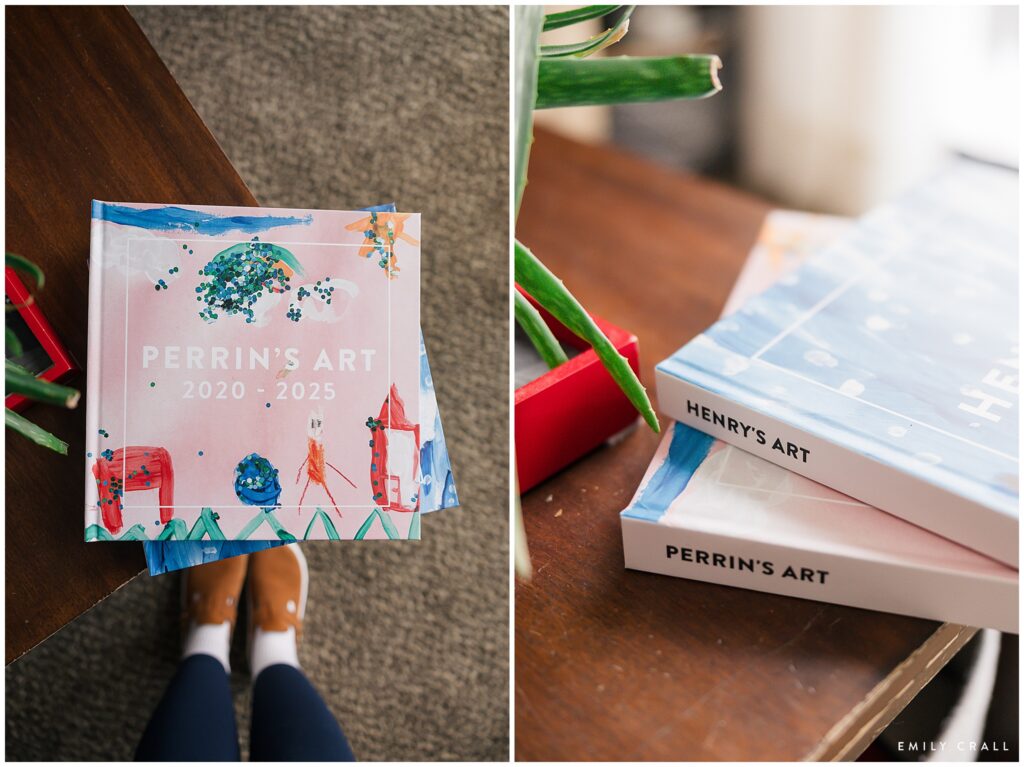
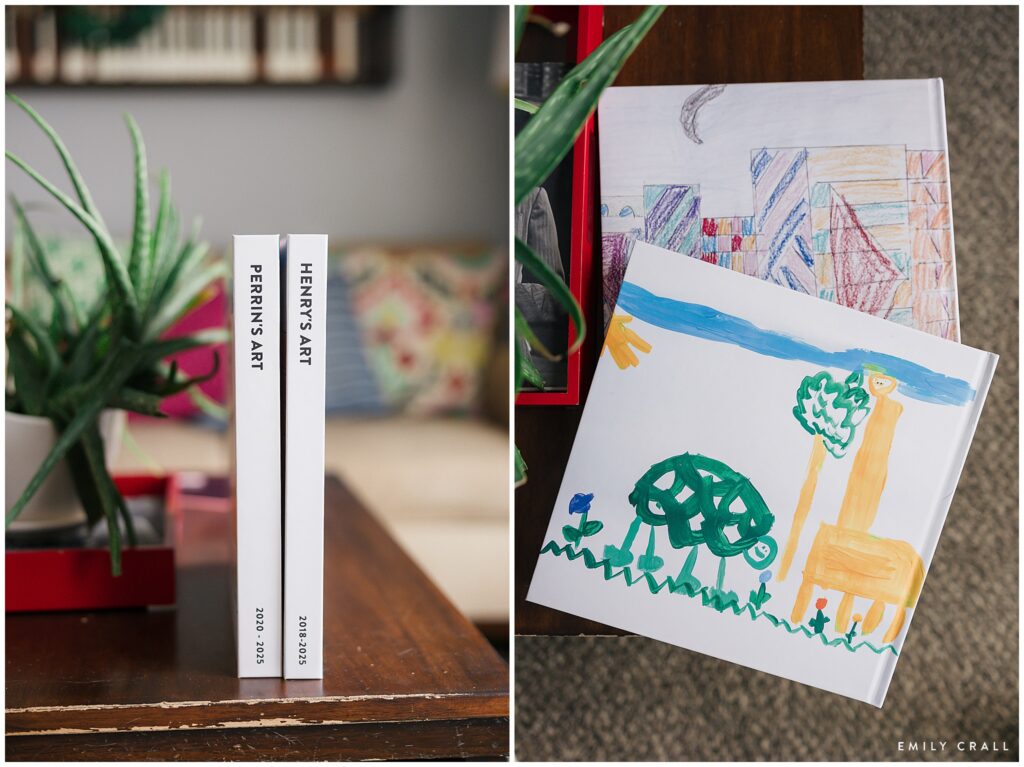
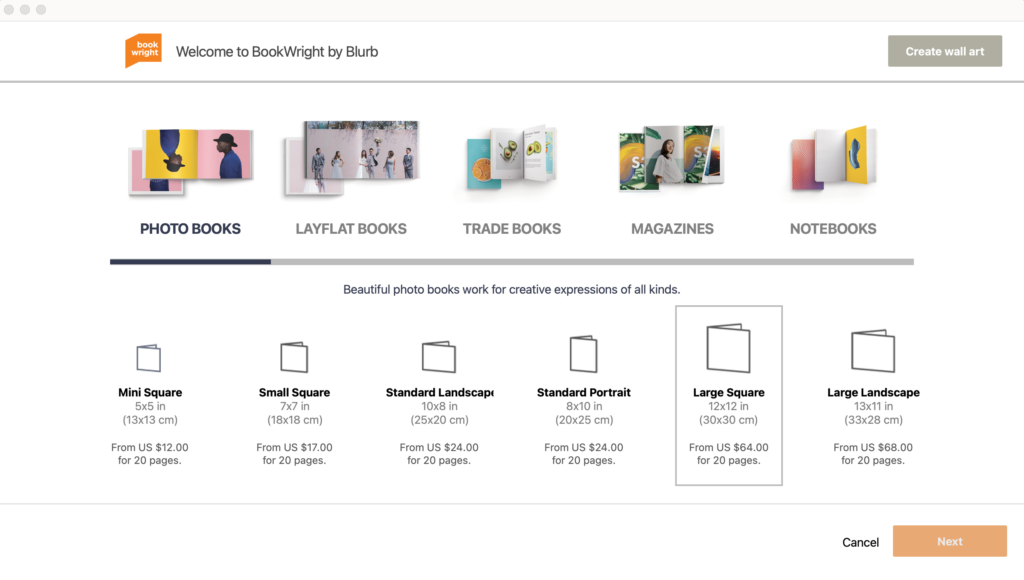
So I designed my own template and have been spending literal years (Henry is 11 now!) adding pages to each of my kids’ book designs until they finally hit max pages (400!). These books are gigantic (12×12) because I wanted their artwork to appear as close to true measurement as possible. I print all our books through Blurb. (Insider tip: they offer sales often so don’t order unless you’re getting at least 20% off. Around Black Friday, they have a 50% off discount so I often save up all my ready-to-print books for then.)
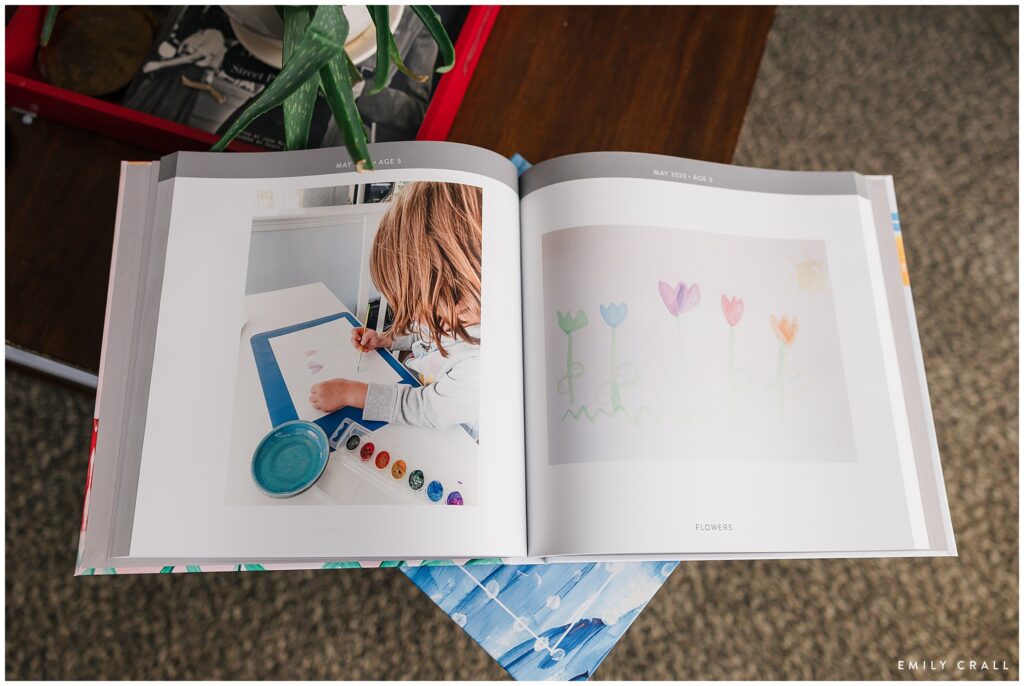
Every time my kids make art, I take a photo of it. Nothing fancy; just with my phone on a white countertop by a window. Then I save it into Google Photos in their artwork folder (they each have one). That system also had the bonus of keeping dates connected to the drawings because there would be no way now that I could tell you what year, let alone the month, they made something.
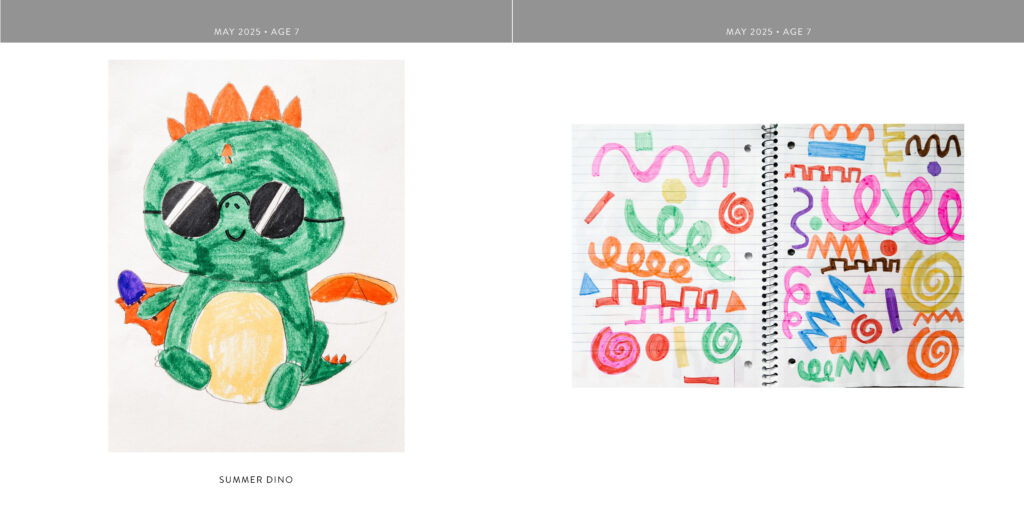
I title (label) each piece because, especially when they were little, it was hard to make out what their intention had been. (“Oh, of course that’s a cat! I see that now!”) If I didn’t know what something was, I’d pull them in to describe or name it for themselves.
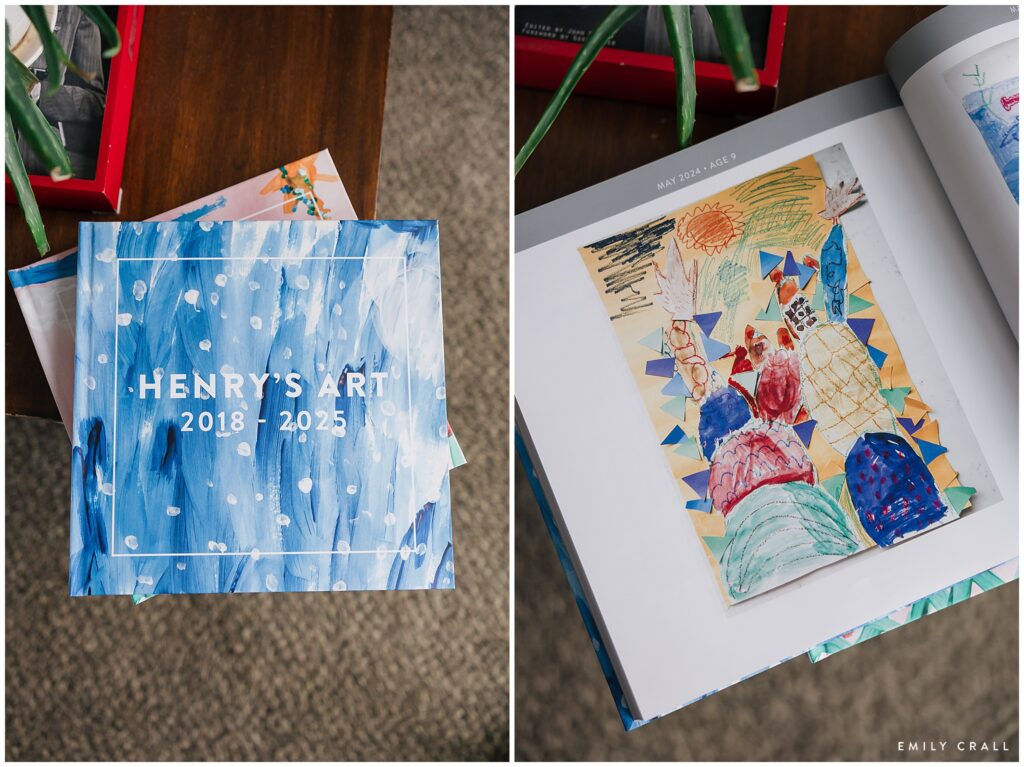
They both have one full book printed with their artwork now and they love looking back through them. I’ve started the second books, but I expect it will take a similar amount of time…so at least another eight years before those are full and ready to print.
Quick answers:
- How big is it? I max out the pages (400), but that does make for a heavy book.
- What size is your yearbook? It’s a 12×12 photo book.
- Where do you get it printed? I use Blurb for all my personal photo album projects.
- What software are you using to design your spreads? I use a mix of softwares, in part because design work is my favorite pastime so it’s something I honestly enjoy. I use InDesign for these books. I also use this software with my business so if you do not have it, I’ll break it down below how you can use a free software that comes with Blurb.
- Do you do one album per year, per child, other? One album per child until they’ve created enough art to fill 400 pages.
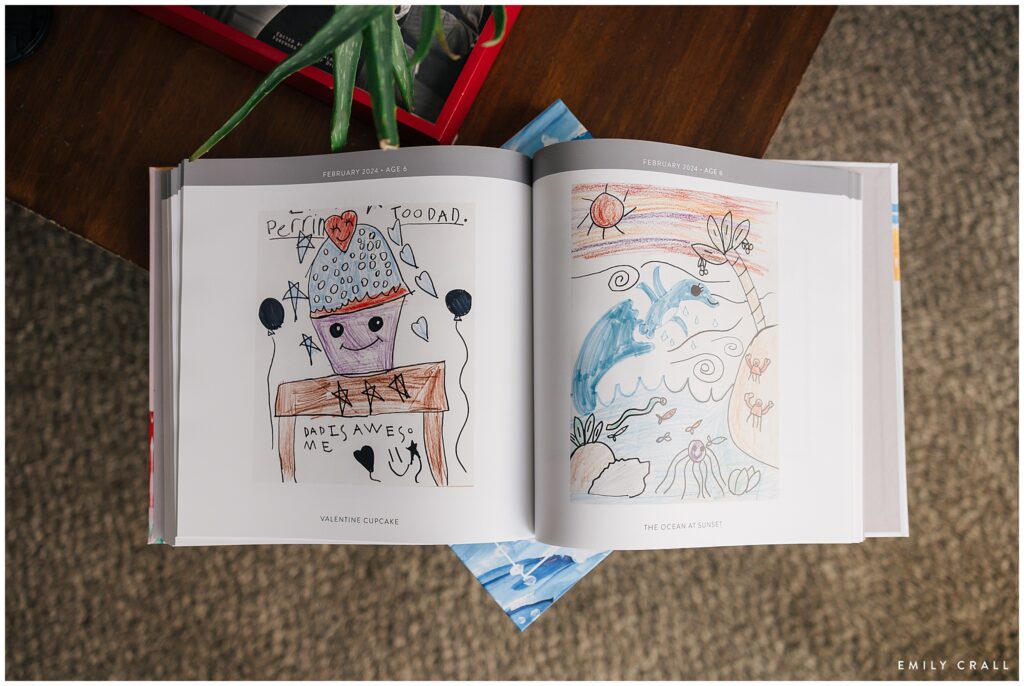
As for the actual design process, I created and saved a template in InDesign to use over and over again. I just go into the child’s Google Photos art folder and pull the images directly into InDesign, using the information saved there for the month/year of when that piece was created. (Because I take the photos at the time of the creation, I always know the image date is synonymous with the creation date.)
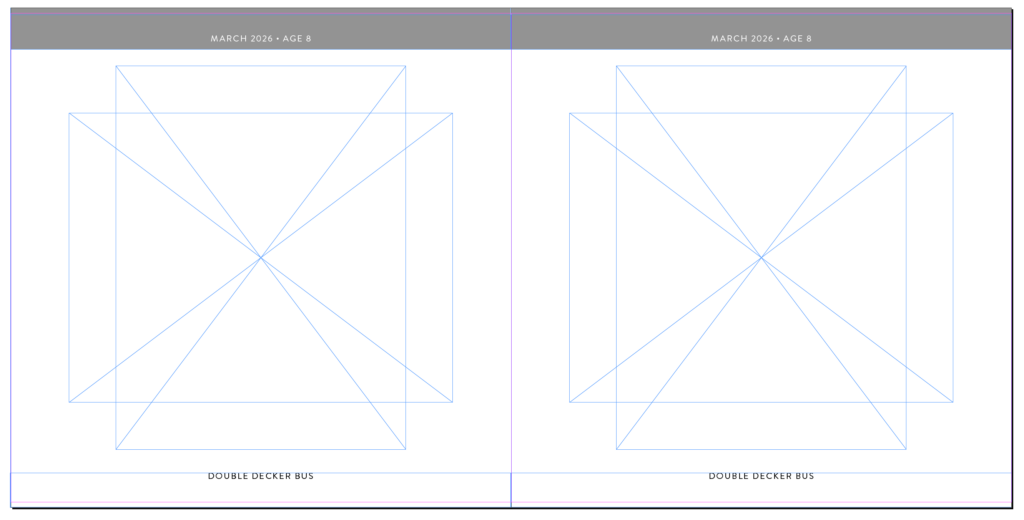
For example, here’s what my blank template looks like versus how it ends up:
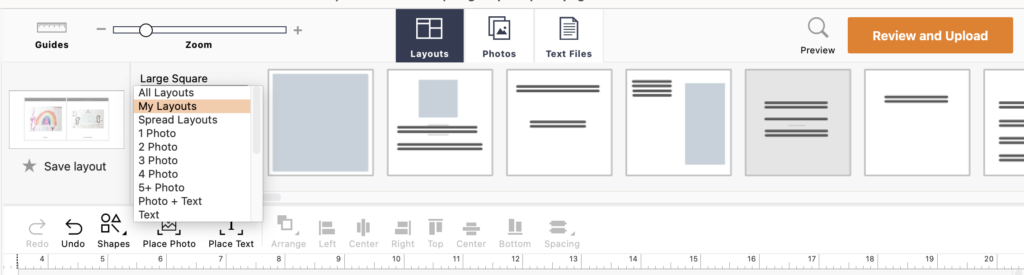
I mentioned that there’s a free software available that’s actually really, really good. It’s called BookWright and it’s available through Blurb (where I print my books). You have the option of designing from a blank canvas or picking from predesigned templates. My recommendation would be to create a template (layout) and save it, then just go into “my layouts” and reuse the same base every time.
After I take a photo of an art piece, I toss or recycle it. I do have a small bin under each child’s bed where I save the originals of a few of my favorite pieces and I also have some framed around the house, but for the most part, the art book becomes the holder of the memories and we don’t have piles of paper and crafts sitting around.


add a comment
+ COMMENTS