


![]() ’m so thrilled to offer PASS to my clients! I’ve done away with DVDs and USBs because I truly believe this is the safest, easiest, and quickest way to get images to my clients. I’ve been using PASS for almost a year now and absolutely couldn’t be happier with the seamless integration with social media and my clients’ personalized sites (+Sites). Plus, who doesn’t want to have access to their photos right from their phone? Exactly.
’m so thrilled to offer PASS to my clients! I’ve done away with DVDs and USBs because I truly believe this is the safest, easiest, and quickest way to get images to my clients. I’ve been using PASS for almost a year now and absolutely couldn’t be happier with the seamless integration with social media and my clients’ personalized sites (+Sites). Plus, who doesn’t want to have access to their photos right from their phone? Exactly.
Alright, with that established, I’m posting a quick tutorial on how to use it. PASS is designed to be very user friendly, but I wouldn’t want you to miss out on any of the benefits!
After your engagement session with me (and after I’ve edited the photos), you’ll receive an email with your gallery invitation. This gallery is for you to use both for your own viewing and also to show off your images to your friends and family. (Everyone loves sharing!)
Here’s a sample gallery and instructions on how to make the most of your own gallery.
Opening Your Gallery
To open your gallery, simply click on the “View Photos” button in the email or Facebook message you received. This will open up your gallery in a web browser.
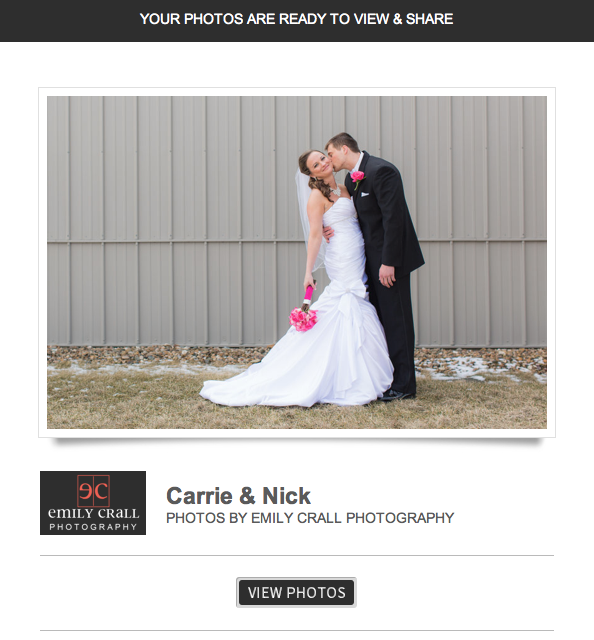
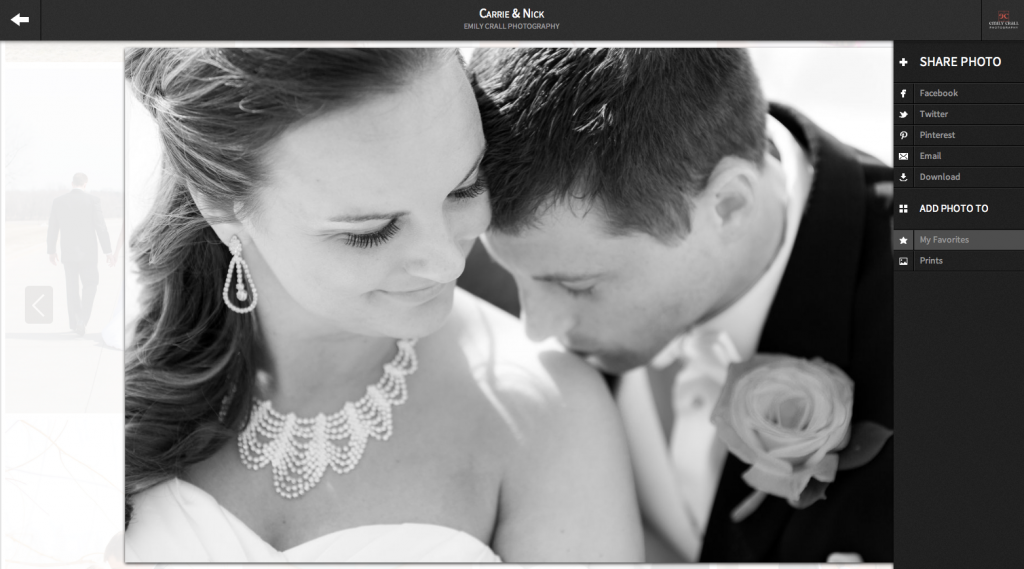
When the gallery opens, you should see something like this:

Logging In
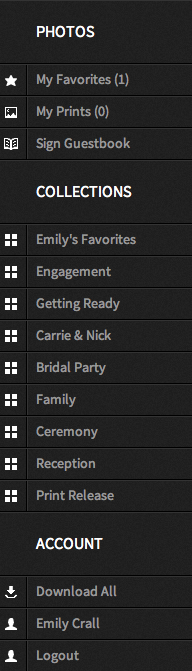
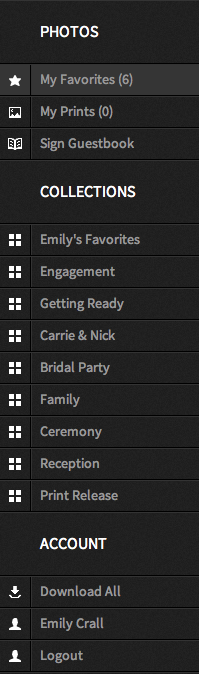
The next thing that you should do after opening your gallery is log in. In the top left corner of the screen, you’ll see 3 horizontal lines in the shape of a square. Click on that to access the menu on the left-hand side of the screen. At the bottom of the menu, click on “Login”.
![]()
You must log in with the Facebook account or the email address that has been given VIP access to the gallery. If it’s an email address, you will first have to click on “Create Account” and then you can create an account. If you do not log in, you might not have full access to all of your images. Depending on the setup of your gallery, you may not even be able to see any images – just a white screen with the black title bar. If you have logged in successfully, you will see your name underneath “Account”. Please contact me if you’re not sure what information to log in with or something’s not working correctly.
Viewing
The images that you see when the gallery first opens up are my favorite images, but there are more for you to see! Just click on the 3 horizontal lines again to access the menu and select a different collection to view. You should see a collection titled “All Images”. Just click on that collection and it will open in the gallery area. When your wedding images are in the gallery, I break them down so they are easier to view. In that case, they are typically titled something like, “Getting Ready”, “Bridal Party”, “Ceremony”, etcetera.
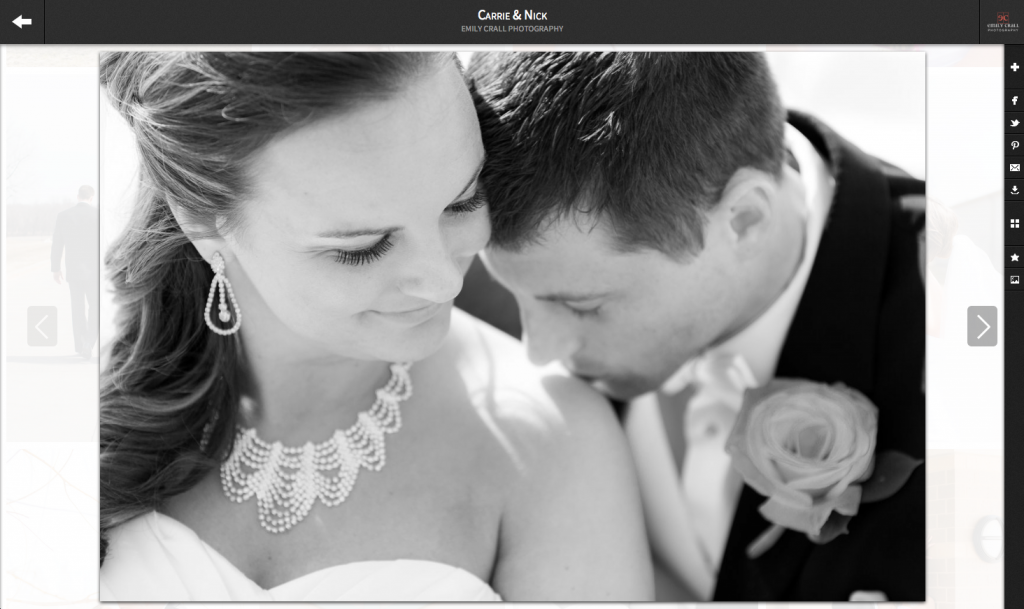
If you want to view your images one at a time, just click on an image and it will expand to fill the screen. To get back to the full gallery, click on the arrow in the top left corner of the screen, or click on the faded arrows on the left or right of the image to scroll through each of your images in this larger format.
Favorites & Sharing
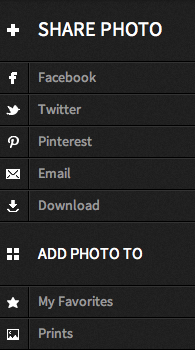
Since you are now logged in and are viewing your images, you can mark your favorite images with a star and create your own collection or share them to your favorite social media sites like Facebook, Twitter, and Pinterest. When you click on an image and it expands, you will also see a new menu slide out from the right-hand side of the screen. If you want to, you can click on the plus sign to expand the menu so you can see what each of the buttons actually means.
Right now, sharing to Facebook shares a link to your gallery and doesn’t actually add the image to Facebook, so I recommend downloading the images and creating an album on Facebook yourself until you are able to do this from within the gallery. (This feature is coming very soon!)

To add an image to your favorites, just click on that image so that it expands to fill the screen and then click on the star.
You can then access your collection of favorites from the menu on the left-hand side by clicking on “My Favorites”. If you want, once you have selected all of your favorite images, I can change your gallery settings so that when people click on the link to your gallery, they are only able to see your favorite images and nothing else. That way only those that have VIP access would be able to see all of your photos. Let me know if you would like me to set this up for you!
You can also share the URL with family/friends via Facebook, email, or text message and they will be able to view the photos too!
Downloading
If you have purchased the digital downloads and you are ready to download your images, it is super simple. You can download individual images by clicking on the specific photo you want, then clicking the “Download Photo” button (it looks like an arrow pointing downwards into what I think looks like a little basket).

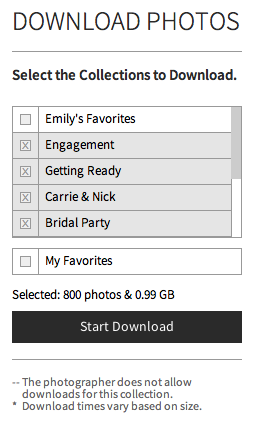
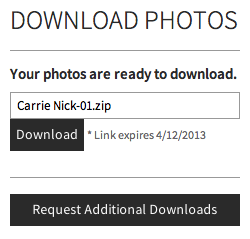
If you prefer, you can download all of your images at once by opening the left-hand menu (click on the three horizontal lines) and clicking on “Download All”. You can choose to download all your images by putting an X in the box beside the “All Images” collection or you can choose to download one or more specific collections (including a collection of your own favorites). Once you click the “Download All” button at the bottom, the gallery will package the images as a .zip file for you. It will notify you when the file is ready for you to download, or you can simply wait.
Eventually you will see a “Download” button which will allow you to save the images to your computer. Then you just have to open up the .zip file on your computer to extract the individual image files.
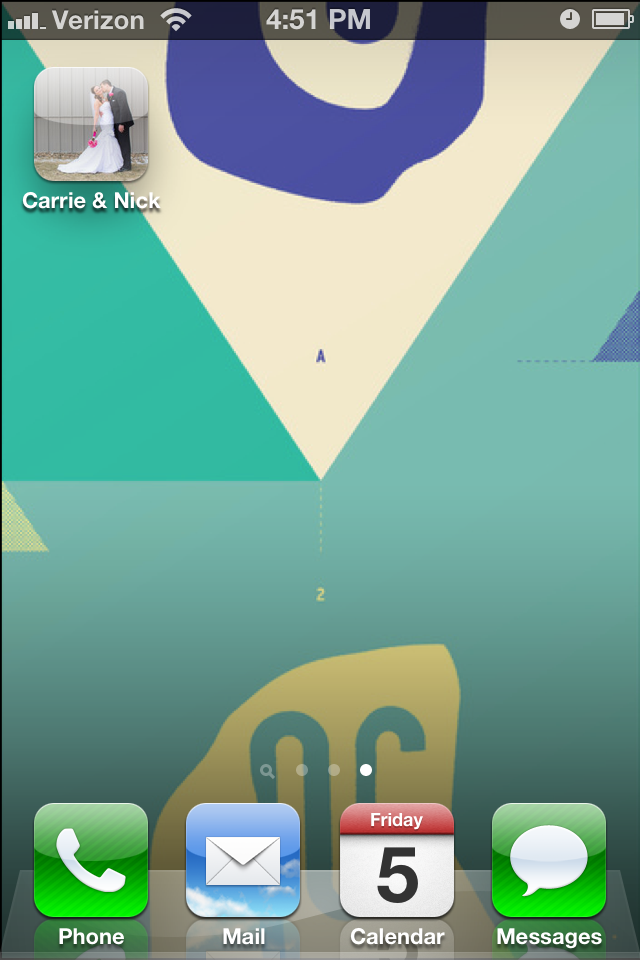
Custom Smartphone/Tablet App
Now here’s the coolest part. To view your gallery on your phone, open the same link from above in Safari (iPhone or iPad) or in your Android browser and you’ll be able to add your gallery to your home page on your phone. Now you have your very own gallery app and it is with you no matter where you go so you can show off your photos to anyone you want to!


Download to Smartphone or Tablet
If you have a smartphone or a tablet, you know what a pain it is to transfer photos over to your device. Luckily, there’s an app for that! You can download the PASS app from the app store. (It’s free!)
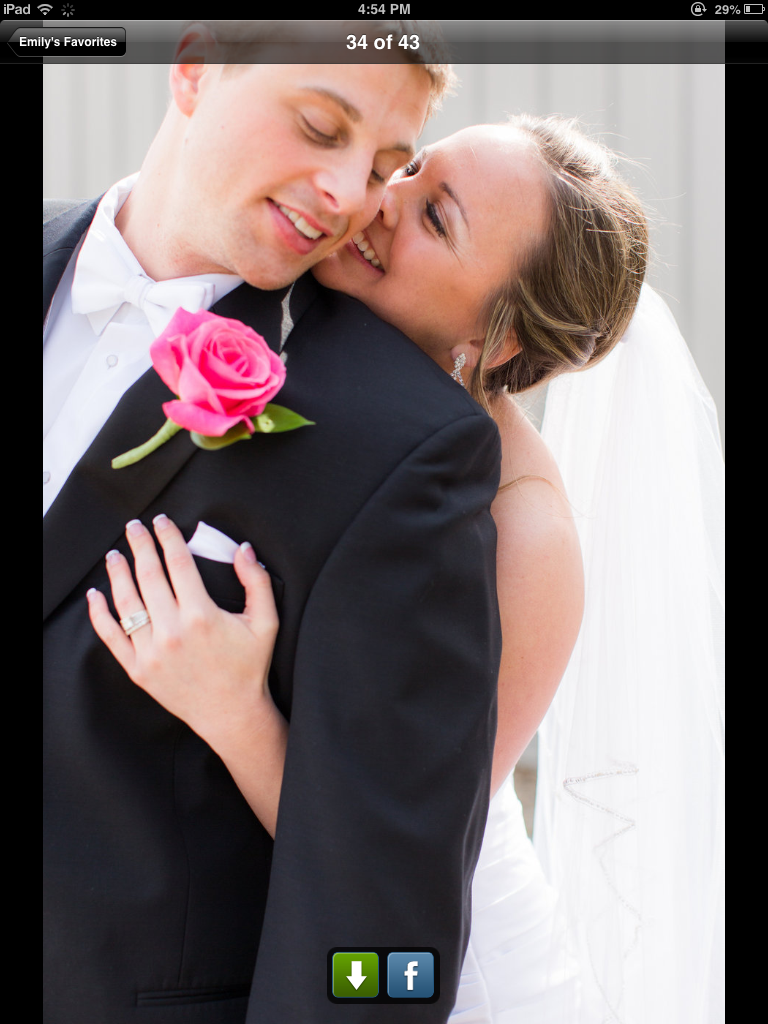
![]()
Then just log in using the same information as before, and you should see a screen with your gallery. If you click on the gallery, you will see the different collections, and from there you can click on each image individually. When you click the image of the arrow, it saves the image straight to your photo roll with all of your other photos!

Enjoy your photos! I hope this convenience and technology makes it all the easier and better for sharing your beautiful day with those around you.
Many thanks to Kristin (Calgary Maternity, Newborn and Family Photographer) for allowing me to use her content on this topic and make it my own to pass on to you.


add a comment
+ COMMENTS